MQL4でボタンを作成していましたが、よりトレードに使えるパネルを CAppDialog と CLabel を使って作成してみたいと思います。この記事では、パネルの表示 → ラベル(CLabel)の配置 → ボタン(CButton)の配置までを、コード付きで順番に説明します。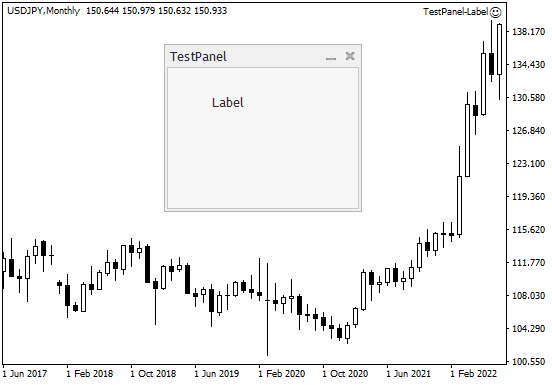
CAppDialog
トレードパネルを作るときは、ラベルやボタンのオブジェクトを1つずつベタで組み合わせるよりも、MQL5の標準ライブラリにあるパネル用のクラスを利用したほうが、後から機能を足しやすく便利です。
MQL4でも build 600 以降はこのライブラリ(MQL4\Include\Controls フォルダ)が入っているので、#include するだけで使えます(MQL4とMQL5の関係は記事の最後で補足します)。主なコントロールは次のとおりです。
| クラス | 内容 |
| CLabel | 「Text label」グラフィックオブジェクトに基づいたコントロール |
| CBmpButton | 「Bitmap Label(ビットマップラベル)」グラフィックオブジェクトに基づいたコントロール |
| CButton | 「Button」グラフィックオブジェクトに基づいたコントロール |
| CEdit | 「Edit field」グラフィックオブジェクトに基づいたコントロール |
| CPanel | 「Rectangle label」グラフィックオブジェクトに基づいたコントロール |
| CPicture | 「Bitmap Label(ビットマップラベル)」グラフィックオブジェクトに基づいたコントロール |
以下のMQL5の記事を参考にやってみます。
参考:手動取引のサポーターを作成する(MQL5記事)
ただしMQL4では、MQL5と同じ書き方ではうまく機能しない部分もあります(ボタンのクリック処理など。3章で説明します)。
パネルをCAppDialogで作成
最初に、何も載っていない基本のダイアログ(パネル)を作ります。大まかな流れは次の3ステップです。
- Dialog.mqhのインクルード
- MQL4\Include\Controls\Dialog.mqh ヘッダーファイルをインクルードします
- カスタムクラスを定義
- CAppDialog を継承した独自のクラス(ここでは CTestPanel)を定義します
- オブジェクトの作成
- CTestPanel からオブジェクト(インスタンス)の TPanel を作り、OnInit() で Create() してから Run() で実行します
TestPanel-1.mq4
|
1 2 3 4 5 6 7 8 9 10 11 12 13 14 15 16 17 18 19 20 21 22 23 24 25 26 27 28 29 30 31 32 33 34 |
#include <Controls\Dialog.mqh> class CTestPanel : public CAppDialog{ private: public: CTestPanel(void){}; ~CTestPanel(void){}; protected: }; CTestPanel TPanel; int OnInit(){ if(!TPanel.Create( ChartID(), // chart ID "TestPanel", // name 0, // subwindow 160, // x1 40, // y1 360, // x2 210 // y2 )){ return (INIT_FAILED); } TPanel.Run(); return(INIT_SUCCEEDED); } void OnDeinit(const int reason){ TPanel.Destroy(reason); } |
シンプルなパネルをチャートに表示できました。
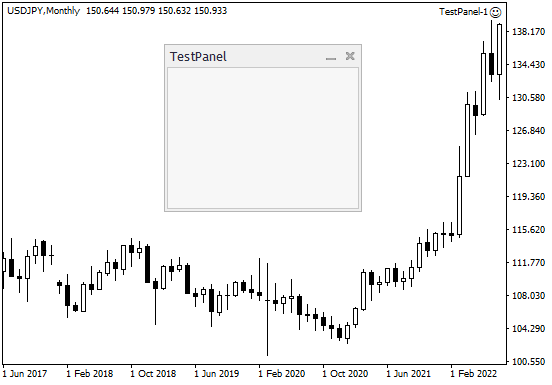
※このコードには OnChartEvent() がないため、パネルの最小化・閉じるボタンやドラッグでの移動には反応しません。次のコードからは OnChartEvent() の中で ChartEvent() を呼び出し、パネルにチャートイベントを渡しています。
CLabel を載せる
次は、このパネルにテキストラベル(CLabel)を載せてみます。
- Label.mqhのインクルード
- MQL4\Include\Controls\Label.mqh ヘッダーファイルを追加でインクルードします
- カスタムクラスを定義
- CTestPanel クラスに CLabel 型のメンバー testLabel を追加します
- ラベルを作る CreateLabel() を定義し、Create() の中から呼び出します
- オブジェクトの作成
- CTestPanel からオブジェクト(インスタンス)の TestPanel を作り、OnInit() で Create() してから Run() で実行します
- OnChartEvent() で TestPanel.ChartEvent() を呼び、パネルにイベントを渡します
ポイントは CreateLabel() の中の Add(testLabel) です。これでラベルがパネルの部品として登録され、パネルと一緒に移動・最小化されます。Create() で指定する座標(45, 26, 145, 46)は、チャートの左上ではなくパネル内側の領域を基準にした位置になります。
TestPanel-Label.mq4
|
1 2 3 4 5 6 7 8 9 10 11 12 13 14 15 16 17 18 19 20 21 22 23 24 25 26 27 28 29 30 31 32 33 34 35 36 37 38 39 40 41 42 43 44 45 46 47 48 49 50 51 52 53 54 55 56 57 58 59 60 61 62 63 64 65 66 67 68 69 70 71 72 73 74 |
#include <Controls\Dialog.mqh> #include <Controls\Label.mqh> class CTestPanel : public CAppDialog{ private: CLabel testLabel; public: CTestPanel(void){}; ~CTestPanel(void){}; virtual bool Create(const long chart,const string name,const int subwin,const int x1,const int y1,const int x2,const int y2); protected: bool CreateLabel(void); }; bool CTestPanel::Create(const long chart,const string name,const int subwin,const int x1,const int y1,const int x2,const int y2){ if(!CAppDialog::Create(chart, name, subwin, x1, y1, x2, y2)){ return(false); } if(!CreateLabel()) return(false); return(true); } bool CTestPanel::CreateLabel(void){ if(!testLabel.Create(m_chart_id, "Label", m_subwin, 45, 26, 145, 46)) return(false); if(!testLabel.Text("Label")) return(false); if(!Add(testLabel)) return(false); return(true); } CTestPanel TestPanel; int OnInit(){ if(!TestPanel.Create( ChartID(), // chart ID "TestPanel", // name 0, // subwindow 160, // x1 40, // y1 360, // x2 210 // y2 )){ return (INIT_FAILED); } TestPanel.Run(); return(INIT_SUCCEEDED); } void OnDeinit(const int reason){ TestPanel.Destroy(reason); } void OnChartEvent(const int id, const long &lparam, const double &dparam, const string &sparam){ TestPanel.ChartEvent(id, lparam, dparam, sparam); } |
パネルにラベルが表示されました。
CAppDialogに CButton を配置
続いて、CButton(ボタン)をパネルに載せます。要領は CLabel と同じで、Button.mqh をインクルードし、CreateButton() でボタンを作って Add() で登録します。
クリック時の処理は、MQL5 では EVENT_MAP というマクロを使うとクラスの中で細かく書けますが、MQL4 ではうまくいかないところもあったため、ここでは OnChartEvent() で判定しています。
クリックされると CHARTEVENT_OBJECT_CLICK イベントが発生し、sparam にクリックされたオブジェクト名が入ります。これが “Button01” なら Print() で「Clicked」と出力します。
TestPanel-Button.mq4
|
1 2 3 4 5 6 7 8 9 10 11 12 13 14 15 16 17 18 19 20 21 22 23 24 25 26 27 28 29 30 31 32 33 34 35 36 37 38 39 40 41 42 43 44 45 46 47 48 49 50 51 52 53 54 55 56 57 58 59 60 61 62 63 64 65 66 67 68 69 |
#include <Controls\Dialog.mqh> #include <Controls\Button.mqh> class CTestPanel : public CAppDialog{ private: CButton testButton; public: CTestPanel(void){}; ~CTestPanel(void){}; virtual bool Create(const long chart,const string name,const int subwin,const int x1,const int y1,const int x2,const int y2); protected: bool CreateButton(void); void OnClickButton(void); }; bool CTestPanel::Create(const long chart,const string name,const int subwin,const int x1,const int y1,const int x2,const int y2){ if(!CAppDialog::Create(chart, name, subwin, x1, y1, x2, y2)) return(false); if(!CreateButton()) return(false); return(true); } bool CTestPanel::CreateButton(void){ if(!testButton.Create(m_chart_id, "Button01", m_subwin, 45, 26, 145, 46)) return(false); if(!testButton.Text("Button")) return(false); if(!Add(testButton)) return(false); return(true); } CTestPanel TPanel; int OnInit(){ if(!TPanel.Create( ChartID(), // chart ID "TestPanel", // name 0, // subwindow 160, // x1 40, // y1 360, // x2 210 // y2 )){ return(INIT_FAILED); } TPanel.Run(); return(INIT_SUCCEEDED); } void OnDeinit(const int reason){ TPanel.Destroy(reason); } void OnChartEvent(const int id, const long& lparam, const double& dparam, const string& sparam ){ TPanel.ChartEvent(id, lparam, dparam, sparam); if(id == CHARTEVENT_OBJECT_CLICK){ if(sparam == "Button01"){ Print("Clicked"); } } } |
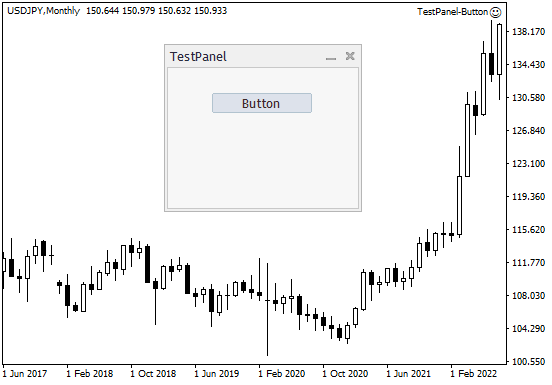
ボタンを載せたパネルができました。
補足:MQL4 と MQL5 の関係
もともと MQL4 は C言語に近いシンプルな言語で、MQL5 は C++ のようにクラスを使ったオブジェクト指向で書く言語として作られました。
2014年2月にリリースされた MT4 の build 600 で MQL4 が大きく改訂され、クラスや継承といった MQL5 の機能や、今回使った標準ライブラリが MQL4 でも使えるようになりました。その一方で、それまでの MQL4 のコードがそのままではコンパイルできなくなるといった影響もありました。
開発元の MetaQuotes 社としては MQL5(MT5)へ移行してほしいのでしょうけれど、MQL4 で作られたインジケーターや EA を求めるユーザーが多く、MQL4 は MQL5 の一部の機能も使える中途半端な状態となっています。そのため今回のように、MQL5 向けの記事やドキュメントを参考にしつつ、MQL4 で動かない部分は書き方を調整する必要があります。