MQL4でボタンは作成できますがドラッグさせるのは多少面倒です
CADialogにボタンを載せて使うとドラッグが簡単にできます
ボタンのドラッグ
CADialogはデフォルトでドラッグできるので、それにボタンを載せるのは
トレードパネルのように拡張することが考えられます
CADialogは、
MQL4 \ Include \ Controls 以下のヘッダーファイルの Dialog.mqh に定義されています
本来ならCAppDialogを継承した新しいクラスを作成するところですが
MQL4は古いC言語的な記述なので直接CAppDialogを使ってみます
Dialog作成
|
1 2 3 4 5 6 7 8 9 10 11 12 13 14 15 16 17 18 19 20 21 22 23 |
// DialogとButtonをインクルード #include <Controls\Dialog.mqh> #include <Controls\Button.mqh> CAppDialog testDialog; CButton button_01; int OnInit(){ // ダイアログ作成 // long chart, string name, int subwin, int x1,const int y1,const int x2,const int y2 testDialog.Create(0, "", 0, 200, 50, 360, 160); // ボタン作成 button_01.Create(0, "TestButton", 0, 10, 10, 102, 32); button_01.Text("Button"); // ダイアログにボタンを追加 testDialog.Add(button_01); // ダイアログの実行 testDialog.Run(); return(INIT_SUCCEEDED); } |
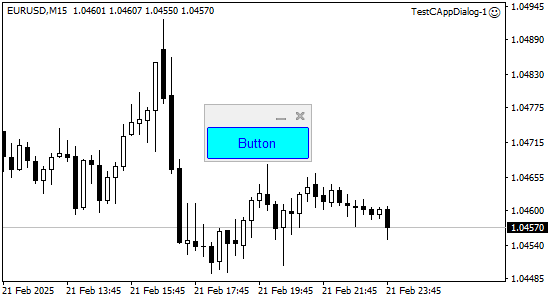
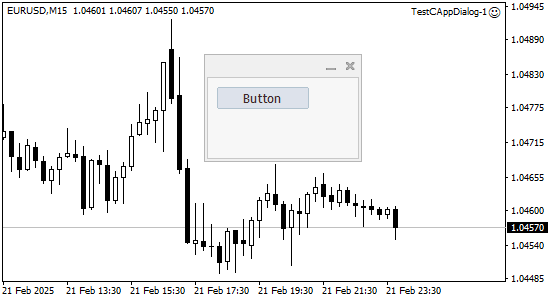
ダイアログの中にボタンを載せたUIができました
サンプルコード
ボタンをクリックして、コメントが出るようにします
testDialog.ChartEvent()をOnChartEvent()に入れて、ダイアログのドラッグ、最小化ができるようになります
|
1 2 3 4 5 6 7 8 9 10 11 12 13 14 15 16 17 18 19 20 21 22 23 24 25 26 27 28 29 30 31 32 33 34 35 36 37 38 39 40 41 42 43 44 |
#include <Controls\Dialog.mqh> #include <Controls\Button.mqh> CAppDialog testDialog; CButton button_01; int OnInit(){ // long chart, string name, int subwin, int x1, int y1, int x2, int y2 testDialog.Create(0, "", 0, 200, 100, 310, 160); button_01.Create(0, "TestButton", 0, 0, 0, 102, 32); button_01.Font("Arial"); button_01.Text("Button"); button_01.Color(clrBlue); button_01.ColorBackground(clrAqua); button_01.ColorBorder(clrBlue); testDialog.Add(button_01); testDialog.Run(); return(INIT_SUCCEEDED); } void OnDeinit(const int reason){ testDialog.Destroy(reason); } void OnTick(){ } // Get the object event void OnChartEvent(const int id, const long &lparam, const double &dparam, const string &sparam){ testDialog.ChartEvent(id, lparam, dparam, sparam); if(id == CHARTEVENT_OBJECT_CLICK){ // Button click if(sparam == "TestButton"){ Print("Button Pressed"); } } } |
ダイアログのサイズとボタンを合わせてボタンだけのダイアログができました
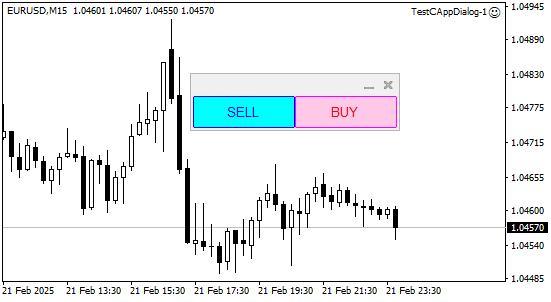
トレードパネルへの展開
Daialogにボタンを載せていけばトレードパネルのように展開できます